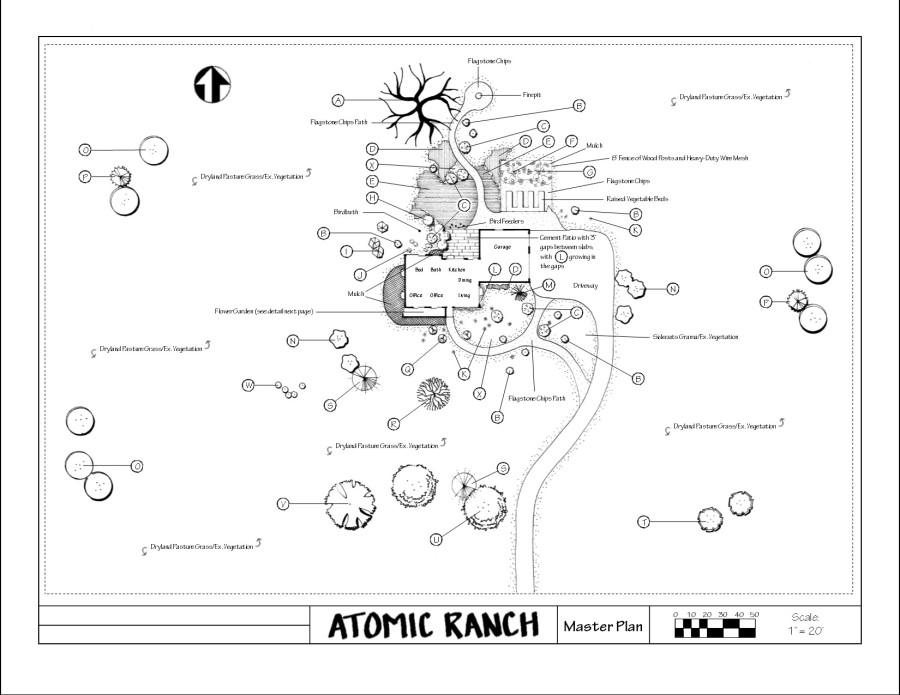
The final plan didn’t look too much different from the preliminary, but I did fill in the grasses in the backyard a bit and added some outlying trees in the northwest area. I put the shade garden and the plant schedule on a different page, which looked better.
Anyway, even though my class is finished, I’m not feeling the relief I thought I would, because I think now the real work starts.
Here’s what the drawing looked like before I got it scanned:

Here’s what I submitted:

Details here: master plan

When I started the class, I assumed that because it takes so long and is a little scary to draw an entire landscape, that I’d use a computer landscaping program for the master plan. But I found that as nerve-wracking it is to draw stuff out, and as inexperienced as I am at drawing, I thought it looked a bazillion times cooler drawn by hand than what a computer program spits out.
Something you have to understand about this plan is that the goal here was three-fold: to learn what good landscape design is, get some good feedback on our specific design, and get an “A” in the class. That last part meant that I may have drawn some things in there that won’t make it to the final install, and we may install stuff that isn’t on the plan. Or install it differently when we get out there and start implementing it in real life. But overall I think it’s a close representation of what we’re after.
(UPDATE: I got a 94% on the master plan assignment, and an “A” in the class. Whew. Go Cougs!)
